Sourdough Starter &
Baking Instructions
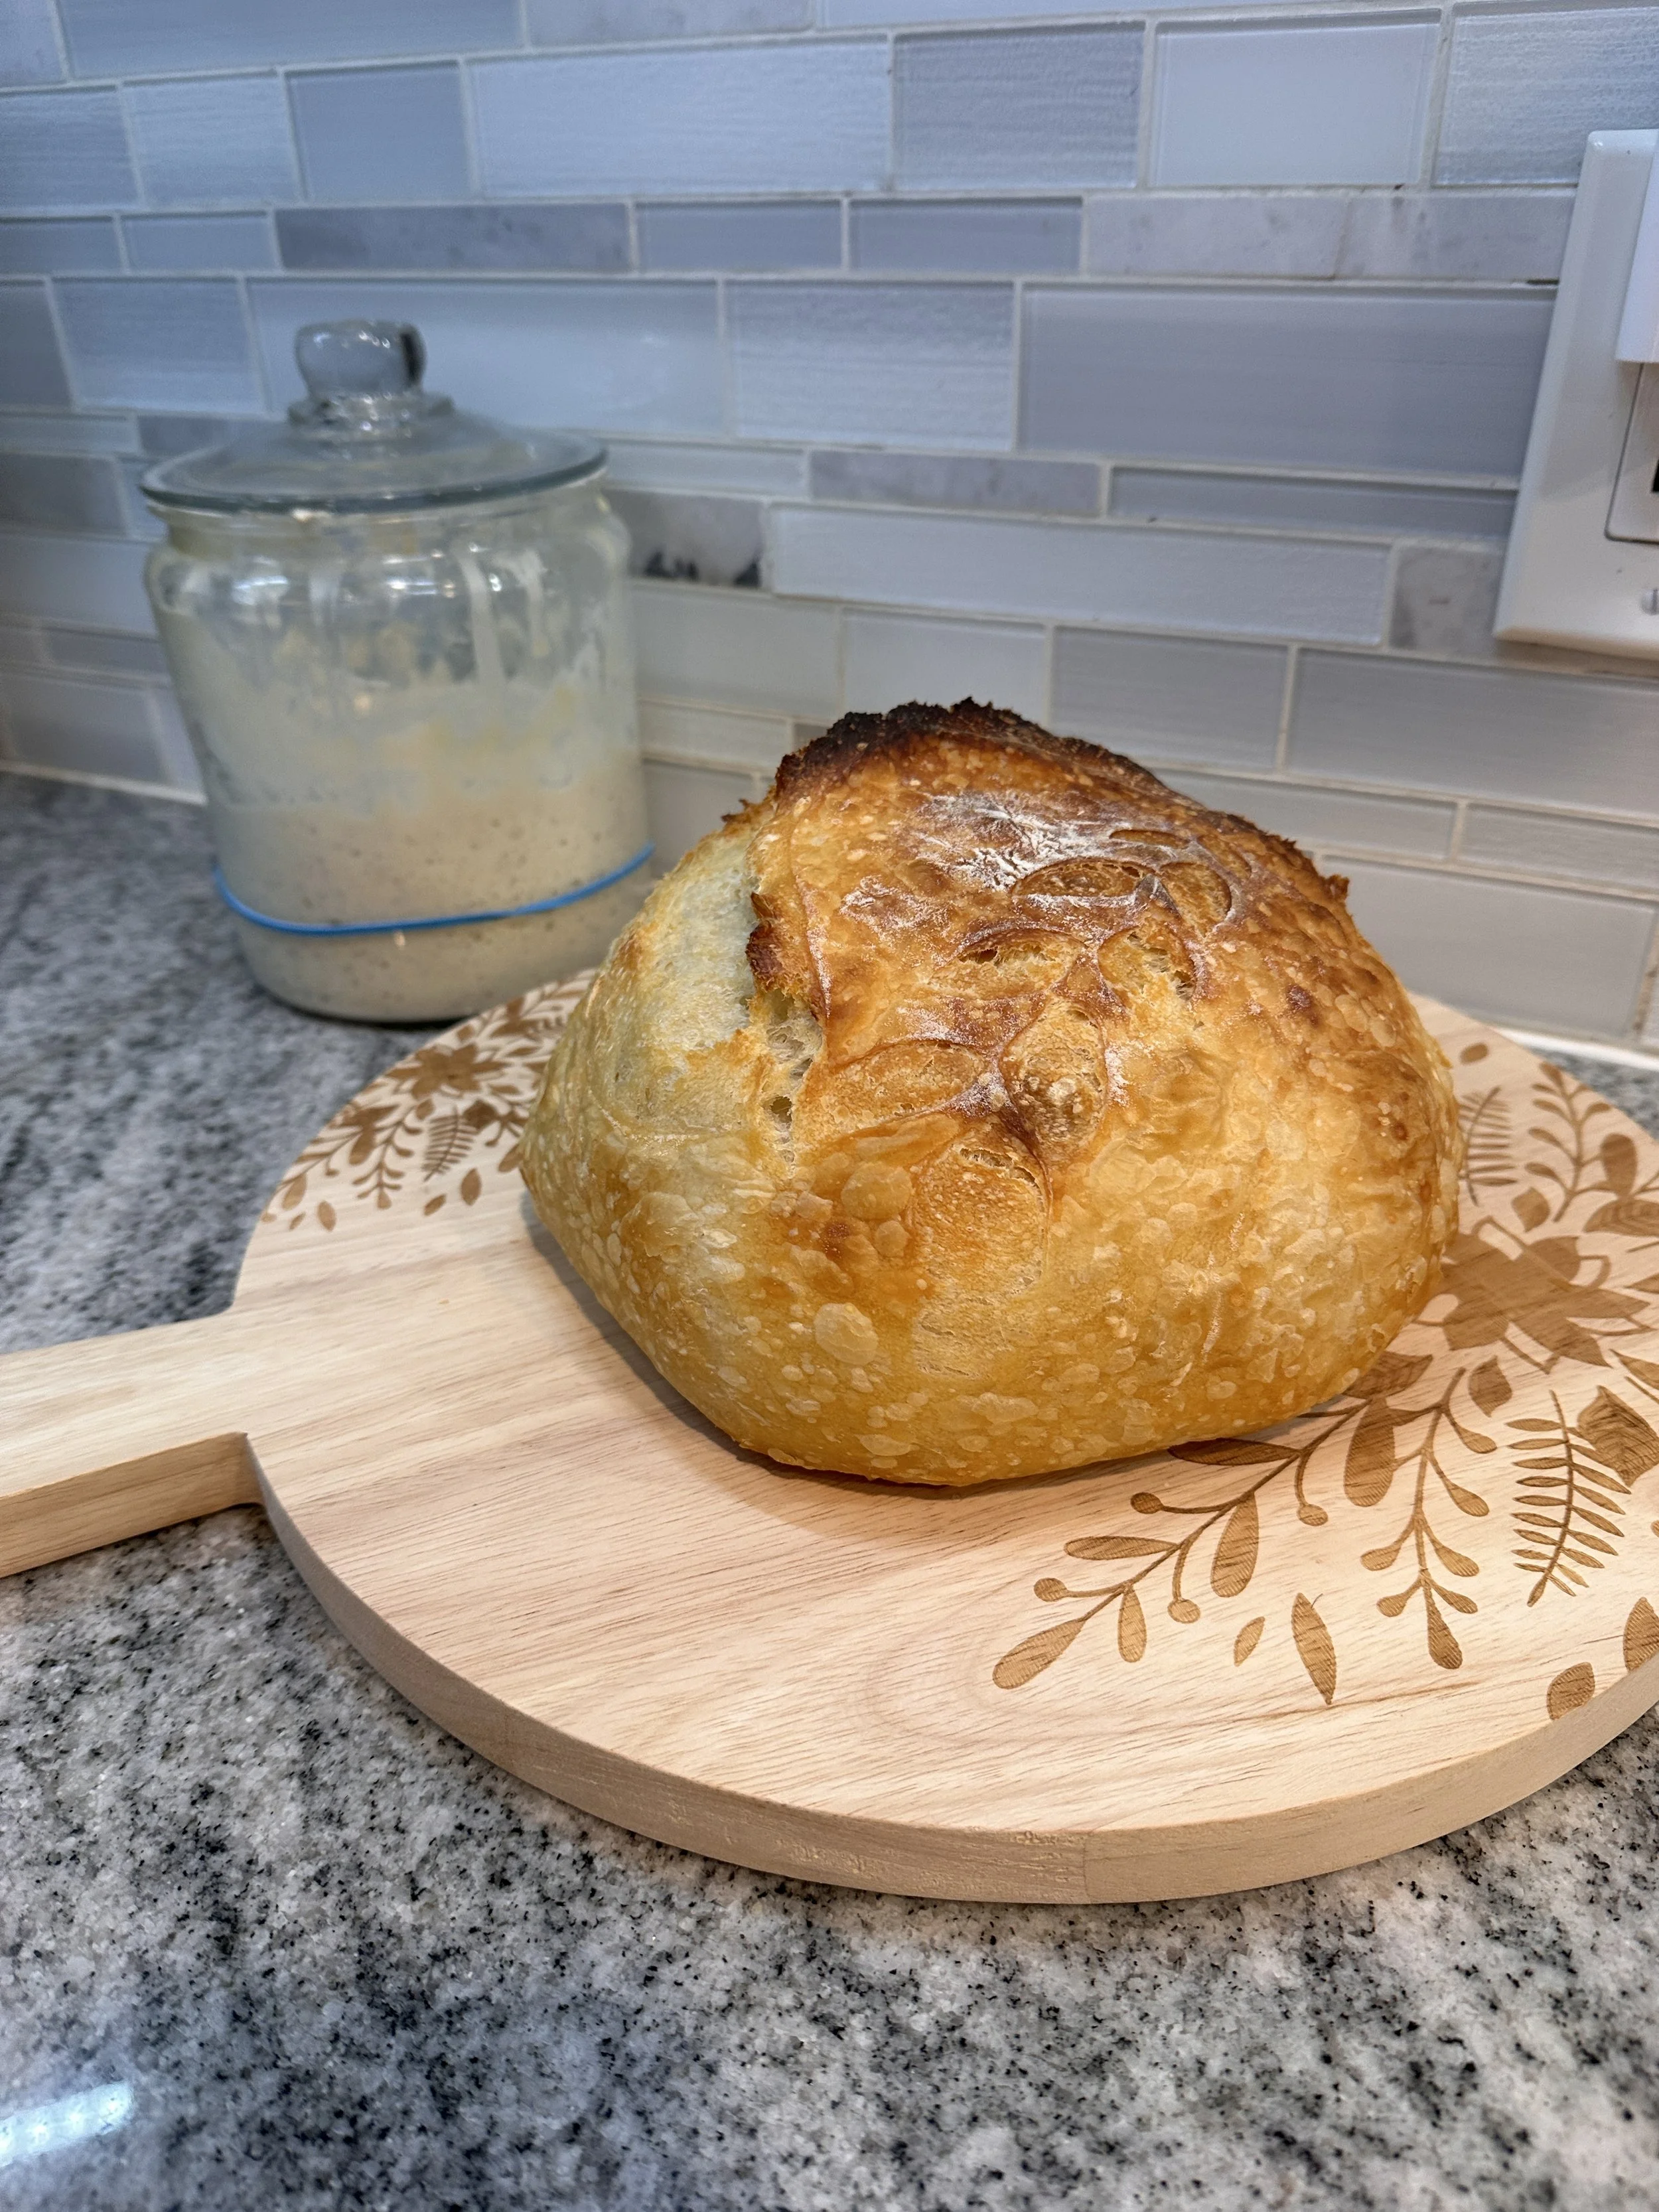
What is the starter?
Your sourdough starter replaces commercial yeast in bread baking. Keep it alive by feeding (discarding some, then adding fresh flour and water) as directed.
There are countless fancy tools available for sourdough baking, but I’ve found that you only really need a few essentials to get started. Here’s what I recommend:
A glass jar for your starter – I use a one-gallon jar with a glass lid that I found at Walmart. It’s simple, effective, and lets me easily keep an eye on my starter.
A Dutch oven for baking – It creates the perfect environment for the bread to rise and develop a crisp crust.
A bread lame for scoring – My go-to is the MEKER Bread Lame, an extractable magnetic dough scoring tool from Amazon. It’s sturdy and reliable, much better than many other options out there.
Feeding Schedule:
When baking regularly: Feed daily.
When not in use: Store in the fridge and feed once a week.
Hootch: If a dark liquid forms on top, just stir it back in; it’s harmless.
How to Feed:
Discard half the starter.
Mix equal parts starter, filtered water, and bread flour.
After feeding, the starter should double in size within a few hours (longer in cooler temps). Use or store it once it begins to fall.
2. Preparing to Bake
Feed the Starter (Night Before):
Feed it the night before so that by morning, it rises and just starts to fall.
Morning Mixing:
In a large bowl, mix 1¾ cups filtered water (420g) with ⅓ cup of starter until milky.
Add 200 g bread flour + 320 g all-purpose flour.
Stir until the dough looks shaggy.
Cover bowl with a damp paper towel and let sit for 1 hour.
Add Salt + Stretch & Fold:
Mix in 10 g salt.
Perform one round of stretch-and-fold (look up a short video).
Tip: Wet your hands to prevent sticking.
Many recipes call for multiple rounds, but one round works just fine for me.
3. Bulk Fermentation
Let dough rise for at least 4 hours, or until it increases by about ⅓ in size.
Test by gently pressing with a finger—if it springs back slowly, it’s ready.
4. Shaping
Shape the dough (see videos for technique).
Place in a bowl lined with parchment paper and flour.
Cover with plastic wrap.
5. Cold Proof (Fridge)
Refrigerate the shaped dough for 2–48 hours (longer proof = deeper flavor).
Tip: 24 hours is ideal if you have the time.
6. Baking
Preheat Oven to 475°F
Place your Dutch oven inside to heat.
Put a cookie sheet on the rack below to help prevent burning the loaf’s bottom.
Score the Dough
Remove the dough from the fridge.
Score the dough using a bread lame (last step that you will need to watch a short video)
my favorite lame is from amazon- MEKER Bread Lame, Extractable Magnetic Dough Scoring Tool
Bake
Transfer dough (on parchment) into the hot Dutch oven.
Bake at 450°F for 30 minutes with the lid on.
Remove the lid and bake another 25 minutes or until golden.
Rest
Let the loaf cool on a rack for 30–60 minutes before slicing.
If you have any questions on the instructions please fill the form out below and we’ll try our best to help you out!